OptoInspect3D Inline offers the possibility to compare large 3D data volumes with optimal geometries so quickly that the inspection of each individual part can actually take place “inline” – i.e. within the production process.
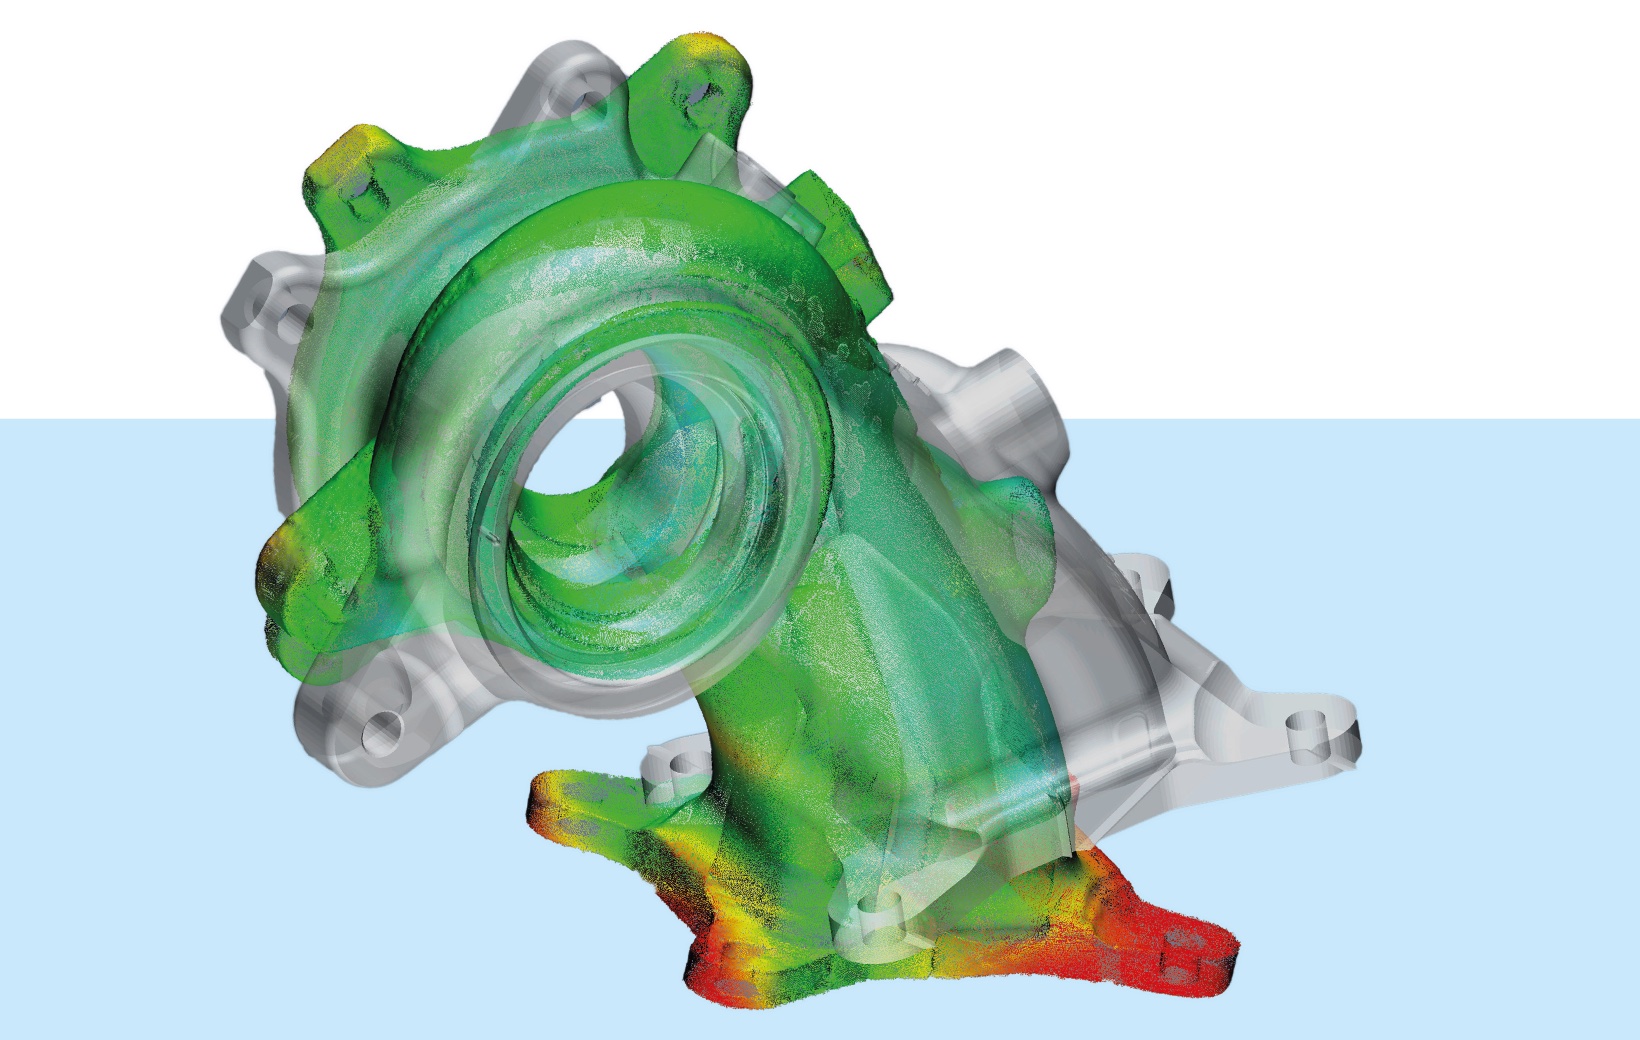
Turbolader
Benefit & value
The OptoInspect3D measurement technology can be used in any industry and is suitable for a wide range of process control and quality inspection tasks, such as dimensional inspection of geometric tolerances for dimension, shape and position, as well as assembly control and completeness inspection. OptoInspect3D has been in use for over 10 years and is continuously being further developed.
The software library for processing 3D point clouds
OptoInspect3D Inline is a program library with highly efficient algorithms to process three-dimensional point clouds and geometries. It is characterized by highest performance, robust methods with certified accuracy and easy integration into own applications, sensors or devices. Flexible licensing models and, if required, individual adaptation or task-specific expansion of the functionality ensure broad applicability of the software library. The associated graphical development and test environment allows to test the algorithms in an uncomplicated way.
New: Now also for Windows, Ubuntu, Raspberry Pi OS, Android and different architectures: x86, x64, ARM (Embedded Hardware)
Robust, efficient methods for
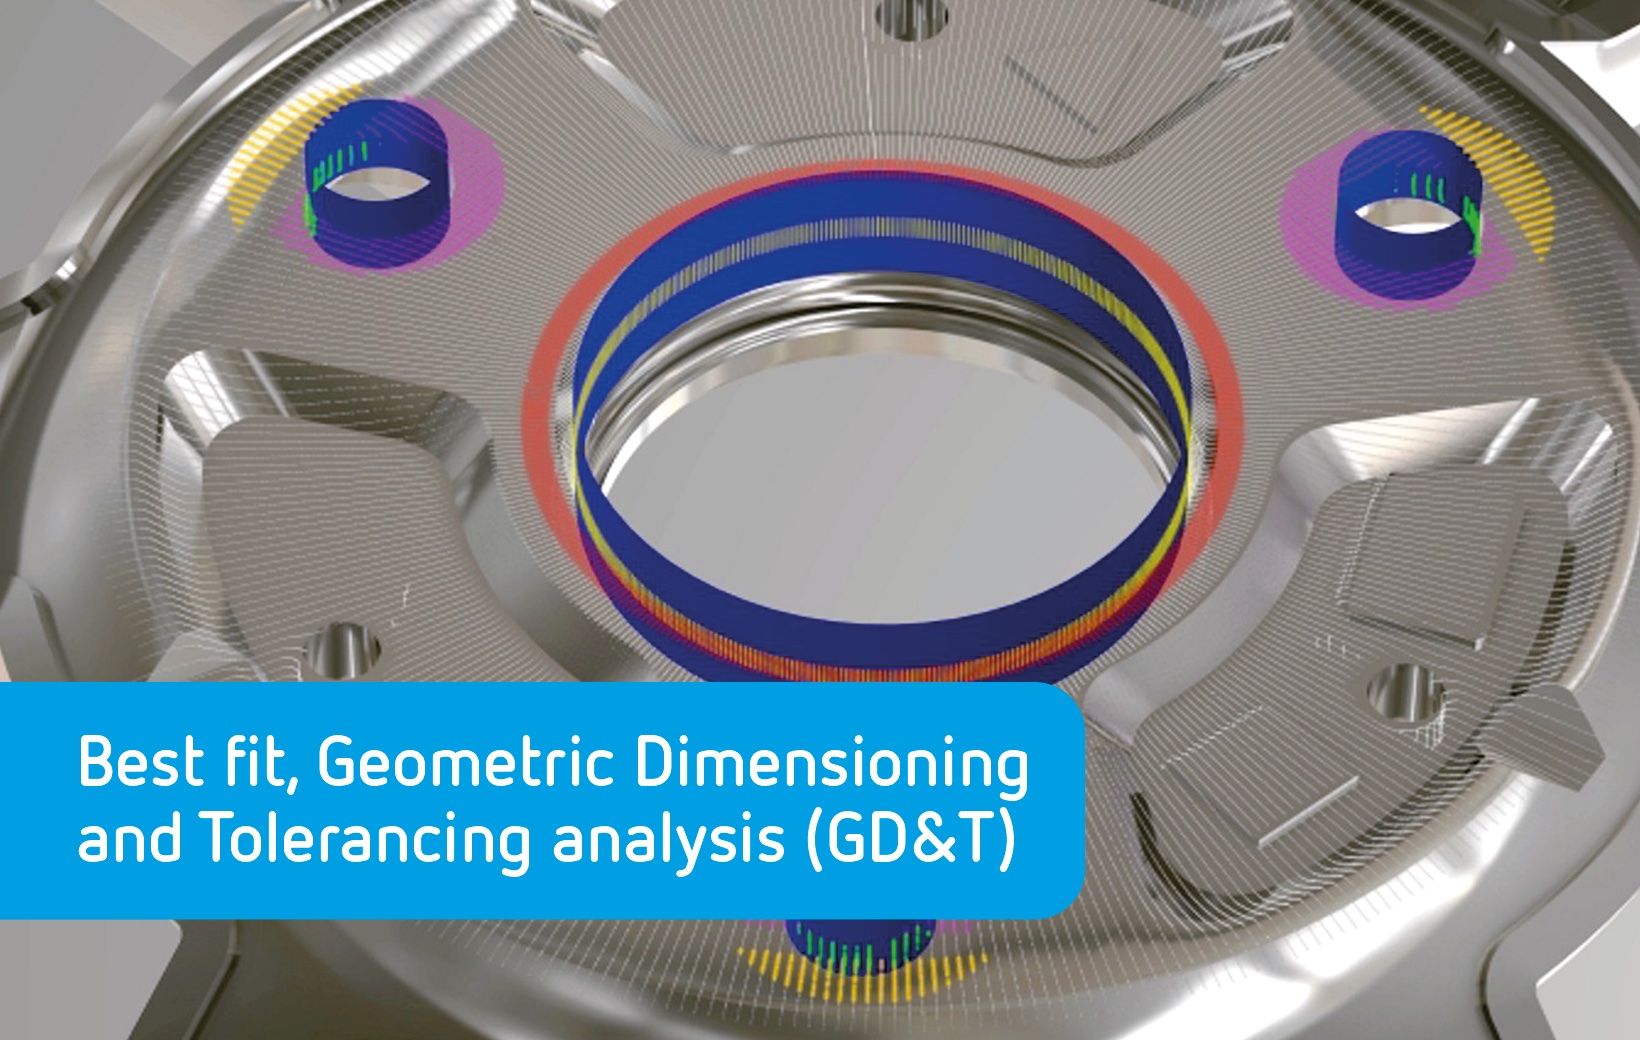
Best fit geometric primitives
A common task in sophisticated 3D data processing is the fitting of geometric primitives into measurement data and the subsequent evaluation of existing deviations.
The OptoInspect3D inline library supports a variety of these primitives. These include lines, planes, circles, ellipses, spheres, cylinders, cones and tori. The approximations can be determined according to different minimization criteria.
In addition to the least squares (Gaussian) method, the Minimum Zone (Chebyshev), Minimum Enclosing (enveloping geometry), and Maximum Inscribing (pen) approximations are also available.
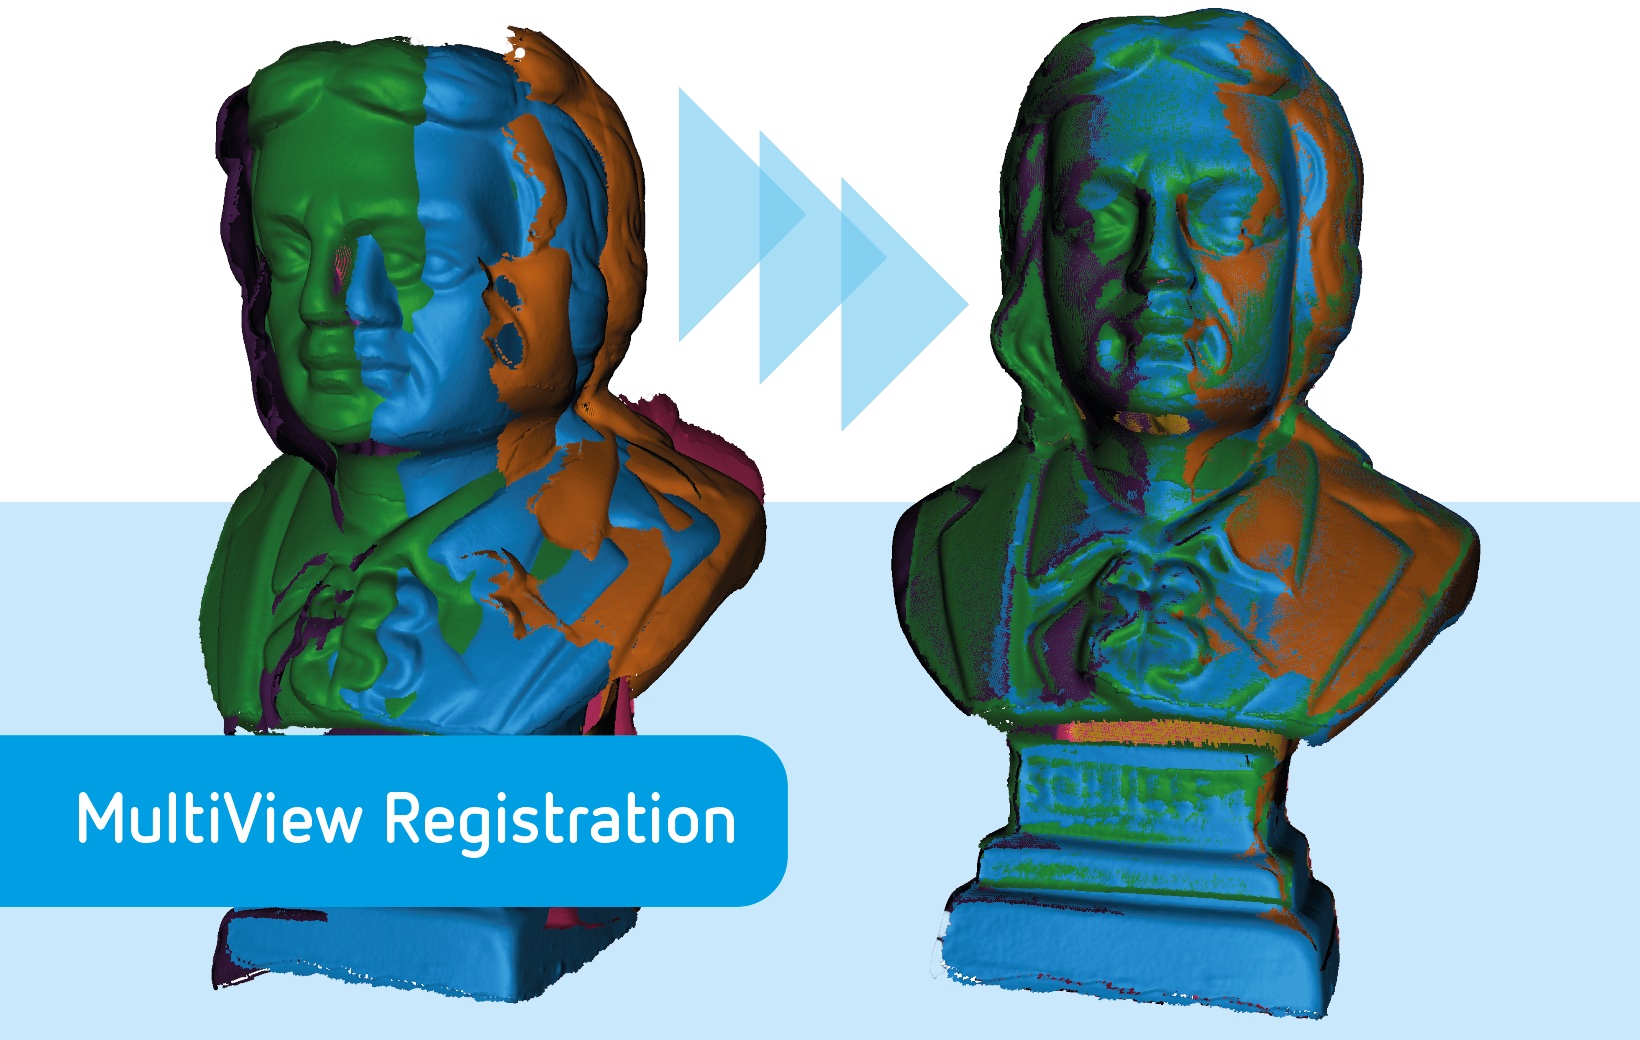
Registration and alignment
Before a comparison of the measurement data with a CAD model or a reference measurement (golden sample) can be performed, the data usually have to be aligned with each other, i.e. registered. All the necessary functions are included in the OptoInspect3D inline library.
The registration can be calculated between two point clouds or between a point cloud and a CAD model in the form of a triangle mesh. Simultaneous alignment and merging of multiple point clouds into one object is also possible. A subsequent distance calculation between scan and model data then shows whether the data sets match.


